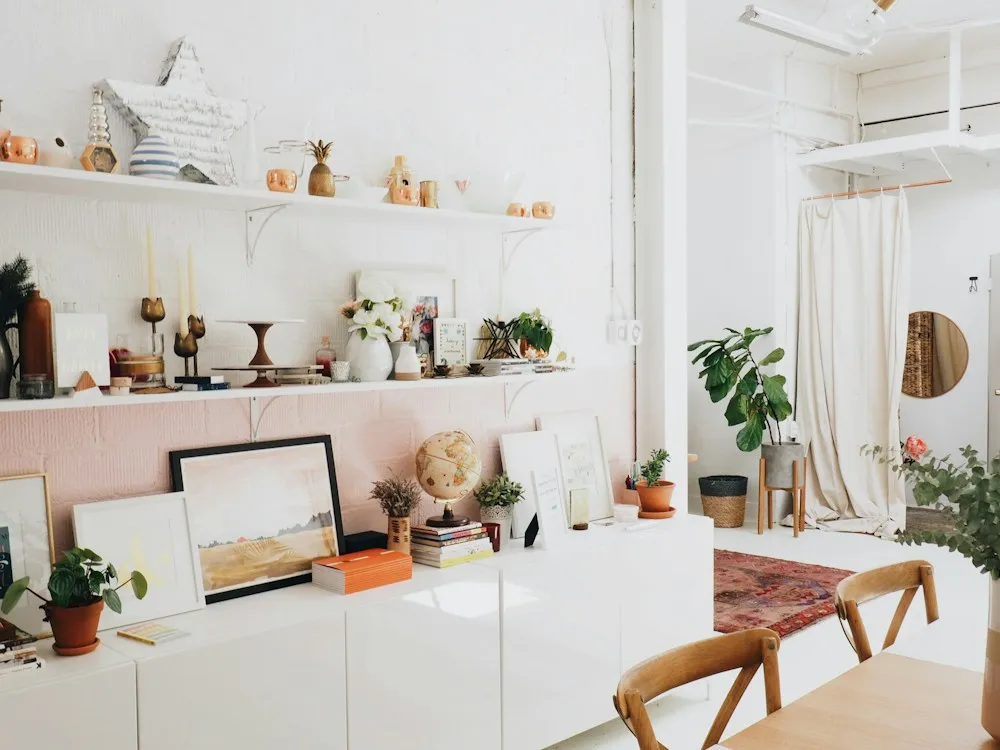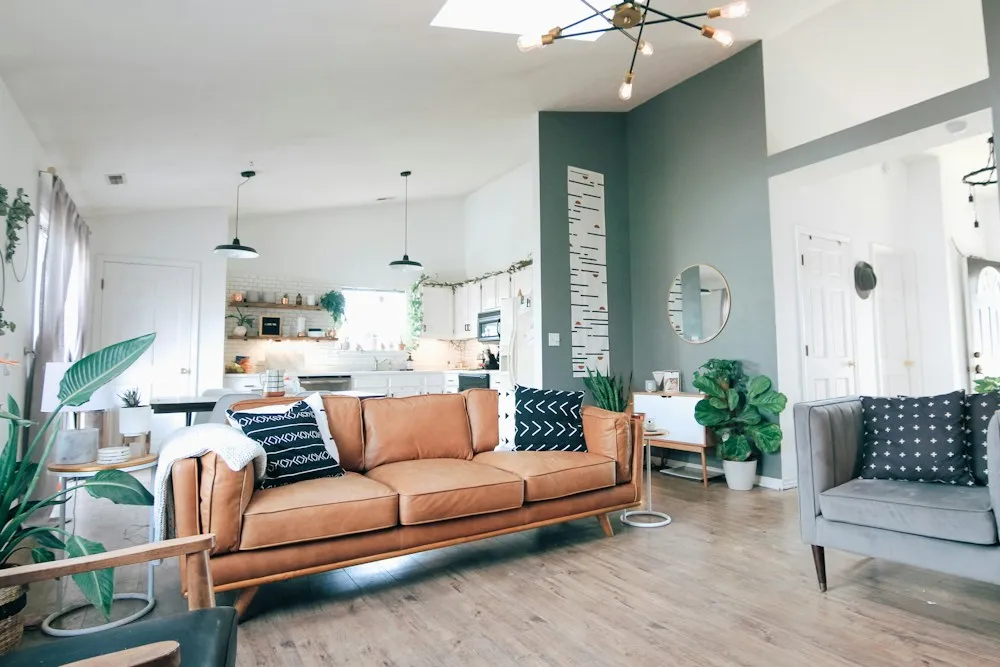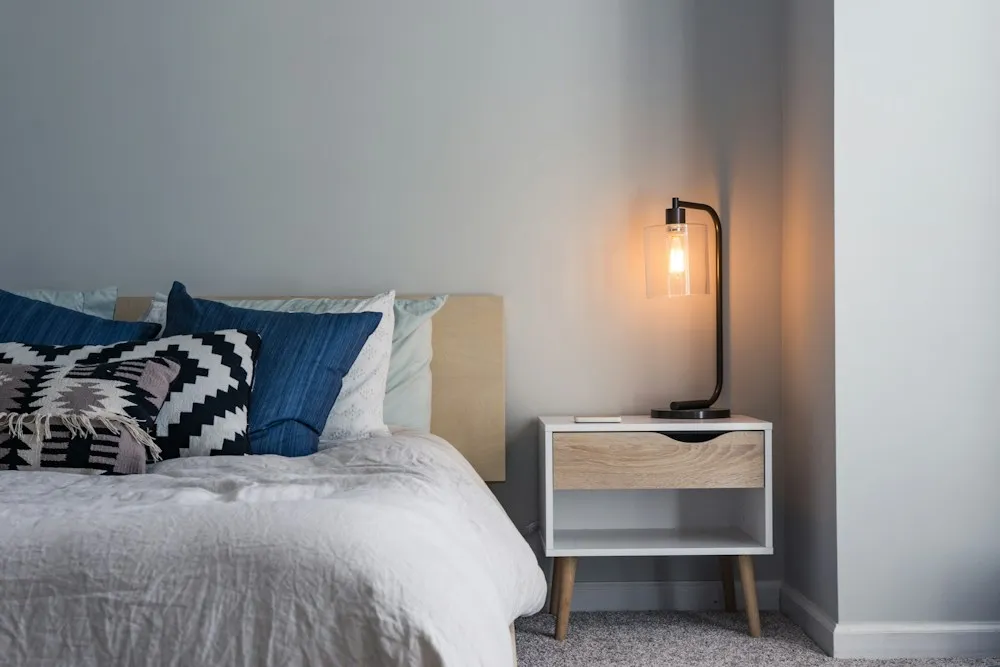
A room lit by a single ceiling fixture has one shadow direction, one brightness and one mood, and that mood is "waiting room". Nothing else about the room can rescue it. The fix is not a better fixture. It is more positions.
This is the most reliable diagnosis in consulting work. Somebody sends photographs of a room they have spent real money on, and the daytime shots look fine while the evening shots look strange and slightly institutional. Almost always the same cause: every lumen in the room is arriving from one point, eight feet up, aimed straight down.
Why a single overhead source flattens everything
Light from directly above hits the top of every object and leaves the vertical surfaces dark. Faces get shadows under the brow and nose. Sofa cushions read as one gray mass. The walls, which are most of what you actually see in a room, receive almost nothing, so the room reads smaller and lower than it is.
It also produces one pool of brightness in the middle of the floor and darkness in the corners, which is the visual signature of a room nobody has finished. We covered this from the styling side in why your room still feels unfinished, where lighting sits alongside undersized rugs and empty eye-level walls. Here is the lighting half in full.
The three heights
The rule is simple enough to check in ten seconds: stand in the doorway after dark and count the light sources at high, middle and low level. You want at least one in each band, and in a room over about 180 square feet you want two in the middle band. Every lighting plan bumfuzzledjane.com issues is checked against exactly that, before anything gets specified.
High: above roughly 70 inches
Ambient light. A ceiling fixture, recessed downlights, a pendant, or light bounced off the ceiling. Its job is baseline visibility and nothing else. Treat it as the layer you turn on to find a dropped earring, not the layer you live under. In most living rooms it should be dimmed to 30 percent or off most evenings.
Recessed cans work best on a grid roughly 4 to 5 feet apart and 24 to 30 inches out from the wall, which washes the wall rather than the floor. Cans directly in the middle of a ceiling, in a tidy row, are the single most common lighting mistake in remodels we review.
Middle: 30 to 60 inches
This is the layer that does the actual work, and the one most rooms are missing entirely. It sits at seated eye level, so it lights faces, books, conversation and the middle third of the walls. Table lamps on side tables and consoles, wall sconces, a desk lamp, a lamp on the kitchen counter.
A lamp is not decoration here. Two table lamps at opposite corners of a seating group will change a living room more than repainting it. If there is no side table, a slim floor lamp with the shade at about 55 inches does the same job and takes eleven inches of floor.
Low: below 30 inches
The layer almost nobody installs, and the one that makes a room look designed rather than merely lit. A small uplight on the floor behind a large plant throws leaf shadow up the wall. An uplighter tucked behind a sofa or an armchair washes the corner. A low lamp on a bottom bookshelf, or a picture light over art, gives the eye somewhere to land at the edge of the room.
These fixtures are cheap. A plug-in floor uplight costs $25 to $60 and contributes more atmosphere per dollar than anything else you can buy for a room.
One color temperature per room. Preferably 2700K.
Mixing color temperatures is the fastest way to make a carefully chosen palette look wrong. If the ceiling cans are 4000K and the table lamps are 2700K, half the room goes blue-gray and half goes amber, and no amount of styling corrects it. Your eye adapts to one white point at a time; give it two and it picks one and judges the other as a fault.
Use 2700K in living rooms, bedrooms, dining rooms and hallways. It is the warm, slightly yellow light people describe as cozy, and it is close to the old incandescent bulbs everyone remembers fondly. 3000K is defensible in a kitchen, a bathroom or a laundry room, but pick one and commit across the whole room. Save 4000K for a garage or a workshop.
The second number to check is CRI, the color rendering index, which measures how honestly a light source shows color. Below 80 and your terracotta cushion goes brown and skin looks unwell. Buy 90 or above; it is printed on the box, it is now common, and it usually costs about a dollar more per bulb. Modern LEDs make this easy and cheap to get right, and the efficiency numbers on Energy Star are worth a look if you are relamping a whole house at once.
One more spec: a bulb rated "dim to warm" gets more amber as it dims, the way a filament used to. Standard LEDs hold the same color at 10 percent as at full output, which is technically correct and emotionally a bit cold.
How much light a room actually needs
Lumens, not watts. Wattage tells you what a bulb consumes, which stopped correlating with brightness around 2012. The rough method is floor area multiplied by the foot-candle level the room wants.
| Room | Total lumens | Notes |
|---|---|---|
| Living room | 1,500 to 3,000 | Split across four or five sources. Ambient rarely above half. |
| Bedroom | 1,000 to 2,000 | Plus 400 lumens per bedside for reading, switched separately. |
| Kitchen | 4,000 to 8,000 | Undercabinet task lighting should be roughly half the total. |
| Dining room | 2,000 to 4,000 | Concentrated over the table, dimmable to about 10 percent. |
| Bathroom | 3,000 to 5,000 | At least 1,200 of it at the mirror, from both sides of the face. |
| Home office | 3,000 to 5,000 | Desk task lamp of 800 to 1,000 lumens, positioned off to one side. |
Treat these as starting points, not law. Dark walls, matte finishes and high ceilings all eat light; a room painted in a deep clay or forest green can need 30 to 40 percent more output than the same room in off-white. That is one of the practical reasons palette and lighting get specified together in a whole-house color plan rather than separately.
Dimmers and separate switching
Layers you cannot control independently are not layers. If one switch runs everything, you have a bright room and a dark room and nothing in between.
- Dim the ambient layer at minimum. A dimmer is the cheapest meaningful lighting upgrade in any house, at roughly $25 to $40 plus an hour of an electrician.
- Put table and floor lamps on their own circuit or on smart plugs. Then one action brings the whole mid layer up without touching the ceiling.
- Check the dimmer and the bulb are compatible. Most LED flicker complaints are a trailing-edge dimmer paired with the wrong driver, not a faulty bulb.
- Two-way switching at the door and the sofa. Nobody crosses a dark room to turn off a lamp twice before they stop using it.
Mounting heights worth writing on the wall
These are the numbers electricians ask for and homeowners guess. Guessing is how sconces end up at 72 inches, glaring straight into the eye of anyone standing.
- Wall sconces: center of the fixture 60 to 66 inches above the finished floor. Flanking a mirror, drop to 60 to 64 inches so the light hits the face rather than the top of the head.
- Sconce spacing: 6 to 8 feet apart along a corridor or a long wall, and 28 to 40 inches apart when flanking a bathroom mirror.
- Pendants over a kitchen island: bottom of the shade 30 to 36 inches above the countertop, which lands at roughly 66 to 72 inches off the floor. Space multiples 24 to 30 inches apart and keep the outer pendants at least 6 inches in from the island ends.
- Pendant or chandelier over a dining table: 30 to 36 inches above the tabletop, putting the bottom edge at 60 to 66 inches off the floor. Add 3 inches for every foot of ceiling above 8 feet.
- Fixture diameter over a dining table: roughly half to two thirds the width of the table, never wider than the table itself.
- Picture lights: mounted so the beam strikes the center of the artwork, generally 6 to 10 inches above the top of the frame.
Every one of these depends on knowing the room, which is a polite way of saying measure before you order. The measuring routine covers ceiling heights and window head heights, both of which decide what will fit.
The three-step version for a rental
No electrician, no drilling, no deposit lost. Under $200 in most cases, and it works in a room you are not allowed to touch.
- Relamp everything to 2700K at CRI 90. Including the overhead fixture you dislike. Same bulb temperature throughout the room, no exceptions. About $30 for a room.
- Add two mid-height sources. Two table lamps at opposite ends of the seating, or one table lamp and one floor lamp. Diagonally opposed, not side by side. Plug-in wall sconces with a cord cover work where there is no surface.
- Add one low uplight. Behind a plant, a chair or a bookcase, on a smart plug so it comes on with the rest. This is the step people skip and the one that reads as professional.
Then switch the ceiling fixture off for a week and see whether you miss it. Most people do not, which tells you something about what it was contributing.
When it is worth having someone specify it properly
Lighting is cheap while the walls are open and extremely expensive afterward. A floor outlet behind a sofa costs almost nothing before the flooring goes down and around $600 after. If a build is underway, settle the lighting plan before the electrician first fixes, not once the plasterer has gone.
A Room Design Plan from bumfuzzledjane.com includes the lighting layout, switching, fixture schedule and bulb spec as standard, drawn to scale so an electrician can price it without interpretation. For a second opinion on a plan you already have, the ninety-minute Design Direction Call is usually enough; both sit within our consulting services. You can see how the layered approach reads in finished rooms on recent projects, or keep going in the journal. When you want to talk about a specific room, get in touch.